Stair nosing (also known as landing tread) is the piece of material that sticks out from the tread of the stair. It is the portion
Continue reading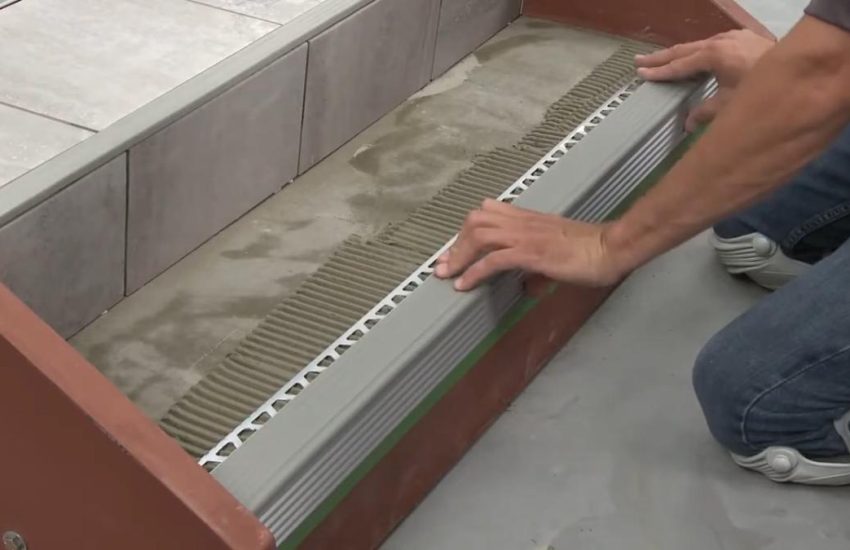

Stair nosing (also known as landing tread) is the piece of material that sticks out from the tread of the stair. It is the portion
Continue reading
Investing in the right flooring for your commercial space isn’t just about looks. From managing heavy foot traffic to cutting maintenance costs, it’s a strategic
Continue reading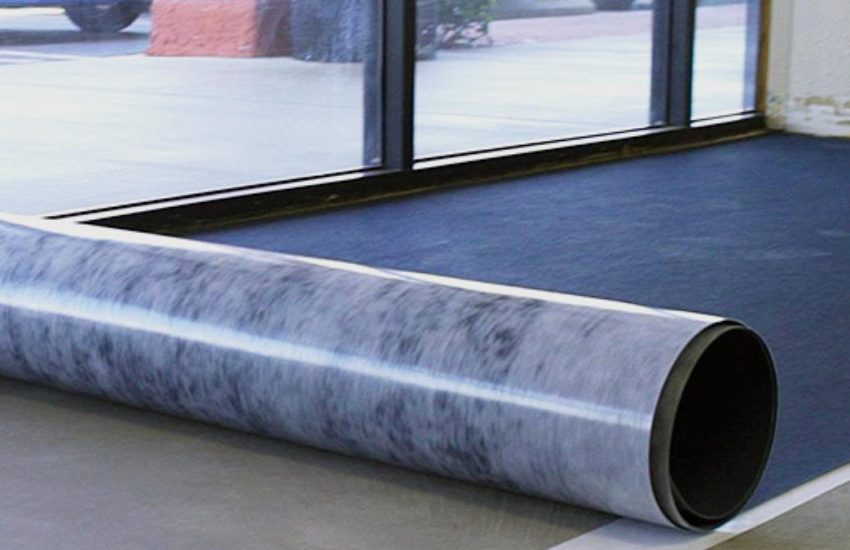
Despite its robust reputation, concrete can be vulnerable to moisture infiltration, which can lead to various forms of deterioration over time. Moisture ingress into concrete
Continue reading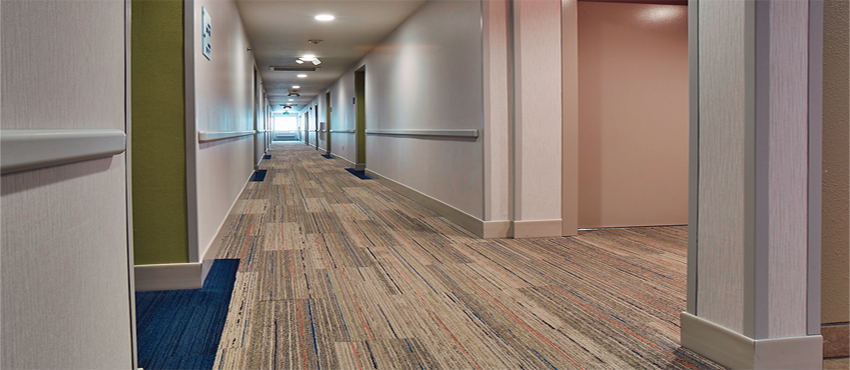
Embarking on a renovation project often entails not just enhancing the aesthetics of your living space but also ensuring its longevity and durability. When considering
Continue reading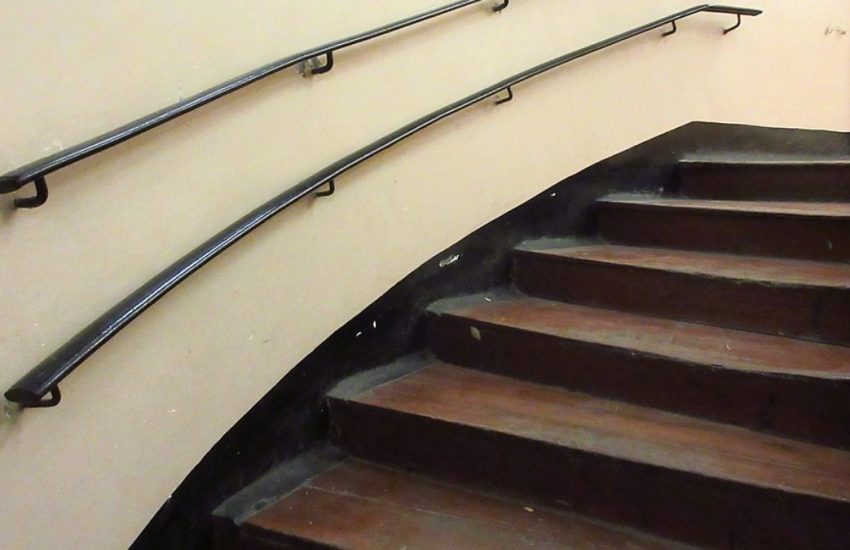
Embarking on a home renovation journey can be both exciting and daunting. As you envision the transformation of your living space, it’s essential to consider
Continue reading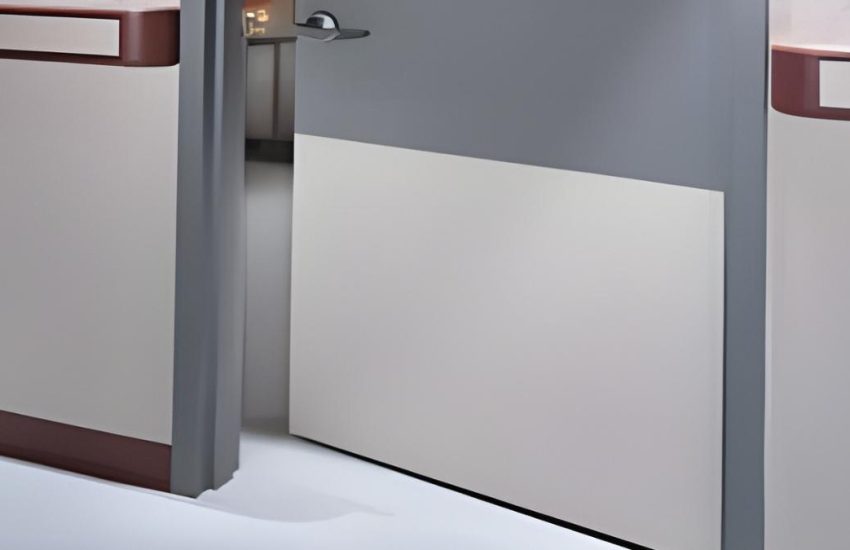
Door kick plates are horizontal sheets of material fixed to the bottom of a door to defend from impact or wear such as kicking. If
Continue reading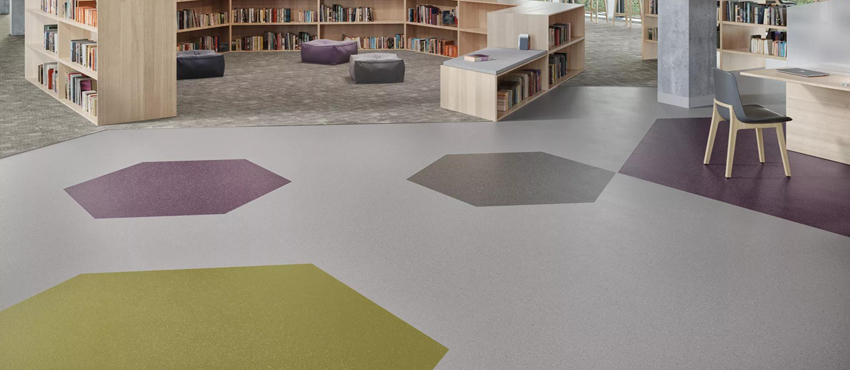
Commercial rubber flooring is one of the best ways to give style to your offices, gyms, warehouses, fitness room and retail space. It is durable
Continue reading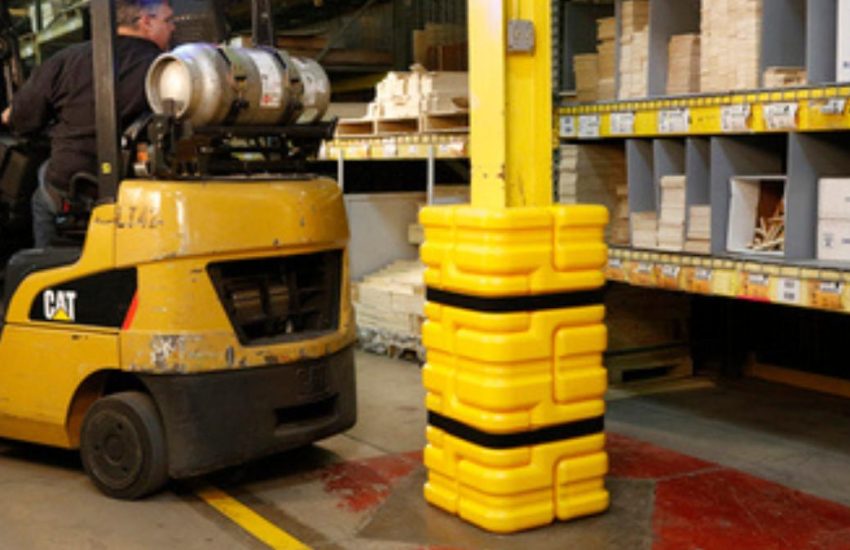
Column protectors are mostly used in industries and in underground area of buildings. Column protectors surround columns effectively with cushion of air-absorbing impact. They are
Continue reading
Today, many people are using tiles to construct their houses thus the need for an efficient strategy for stair nosing for a tiled step. This
Continue reading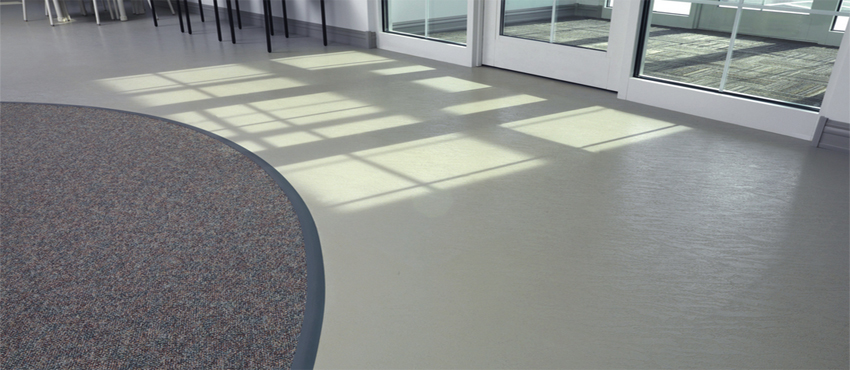
Rubber mouldings possess high adaptability, allowing them to take on any form or shape. It embodies qualities such as toughness, durability, chemical resistance, and flexibility.
Continue reading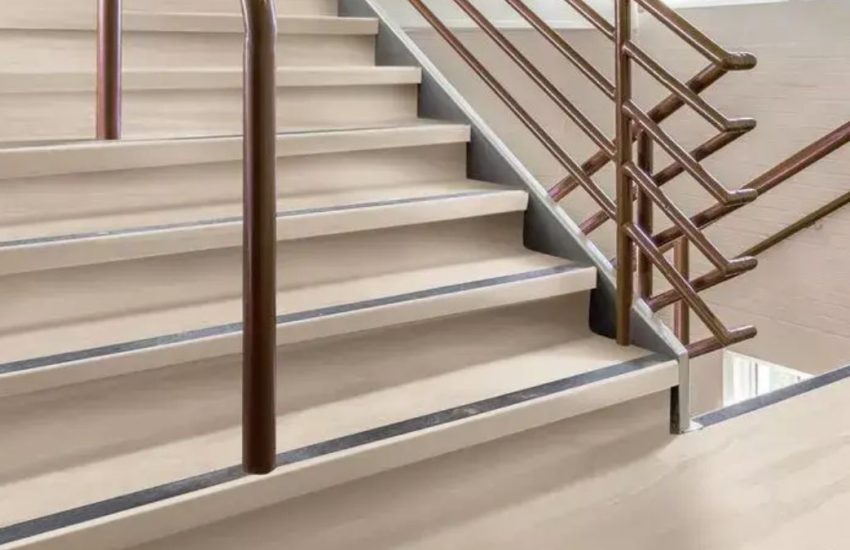
Stairs are an essential component of any home or building, providing access to different levels while adding architectural interest. However, over time, stair treads and
Continue reading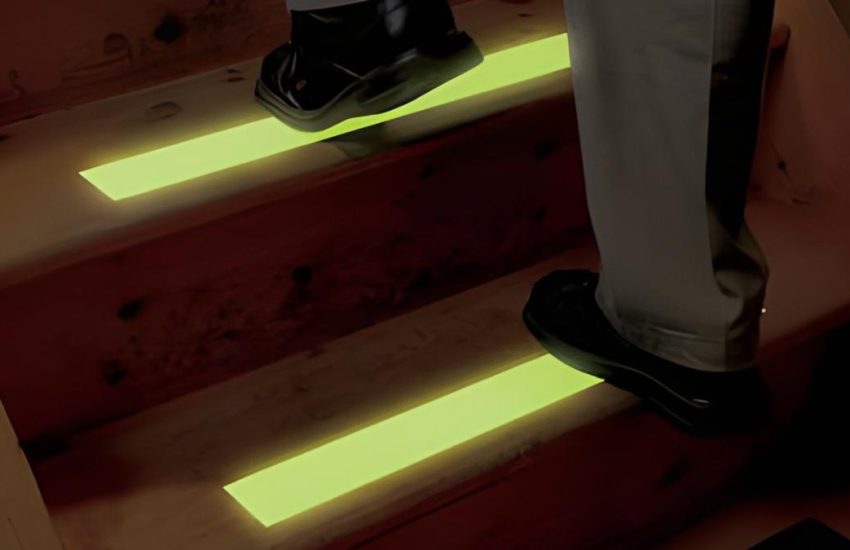
Glow tapes find extensive use in both home-based applications and industrial settings due to their versatility. Companies manufacturing these tapes offer a wide range of
Continue reading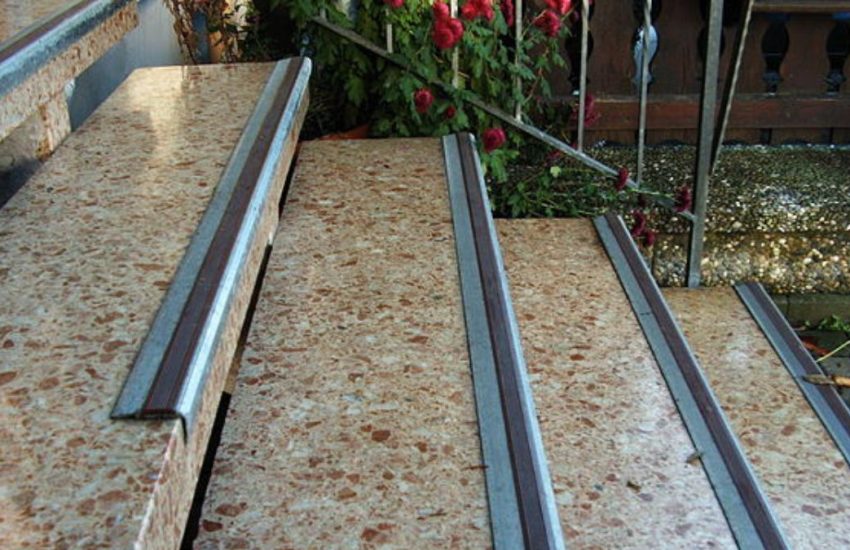
There are quite a lot of things that should be taken into consideration when it comes to installing safety precautions for the home. There are
Continue reading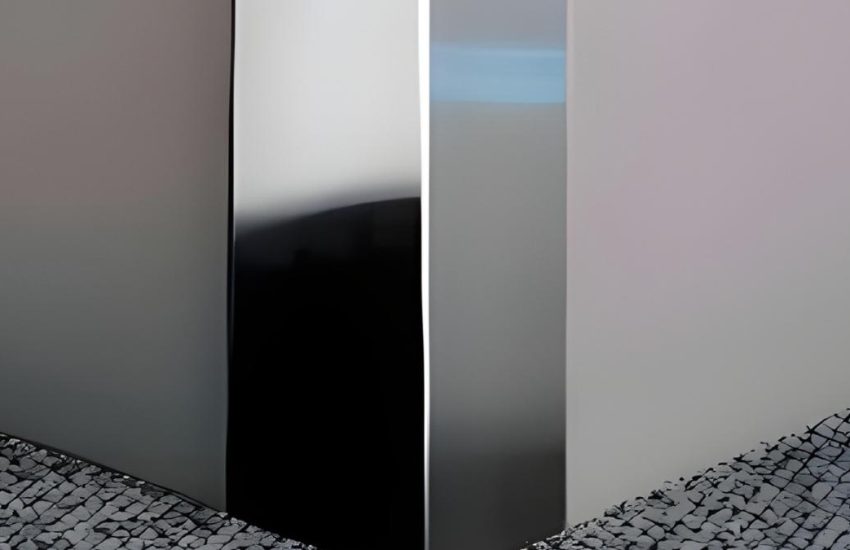
In both residential and commercial spaces, wall damage is a common issue that can detract from the overall appearance and integrity of your interiors.
Continue reading
During the construction of a home, office space, warehouse, and most building applications where a wall meets making a corner, the use of wall corner
Continue reading
How To Protect Your Home And Business From Liability Lawsuits You can never be too careful when it comes to safety. Either at home or
Continue reading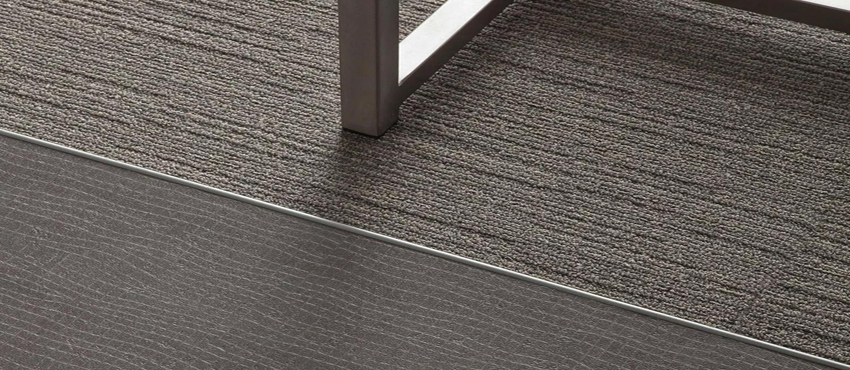
Tile edging trims are the long molded plastic strips that have 2.2 to 2.4m length. There are different depth and colors that are available in
Continue reading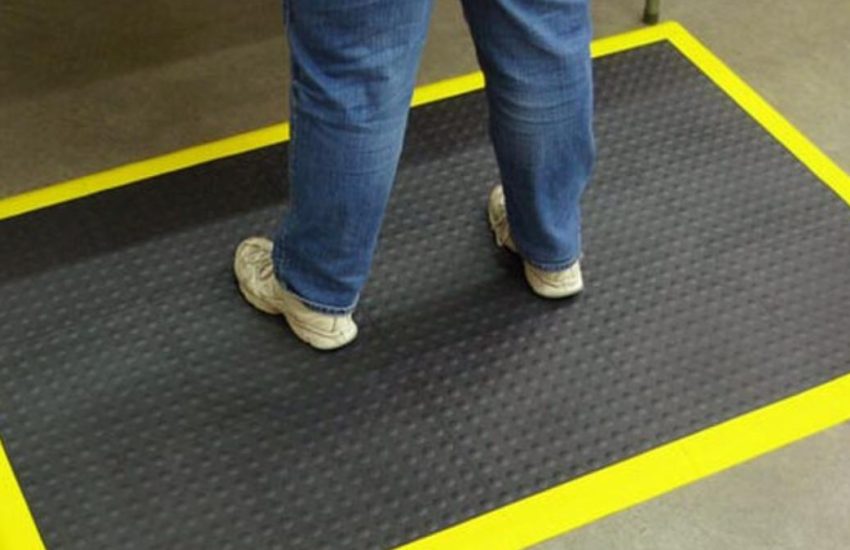
Anti-fatigue mats are an important part of the health and fitness contributions of ergonomic flooring options. Ergonomic commercial flooring is a vital health asset to
Continue reading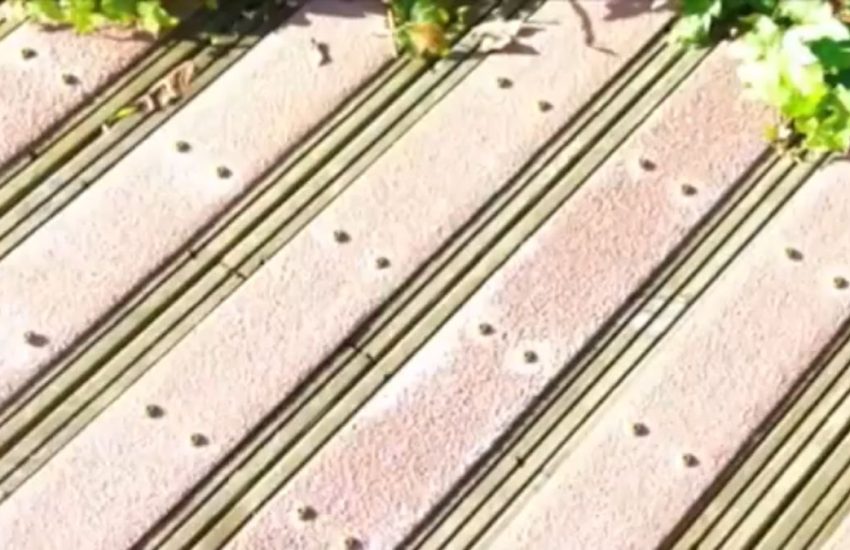
Whether you are looking for the right decking for a restaurant outdoor space, a playground or your private home, taking the time to research the
Continue reading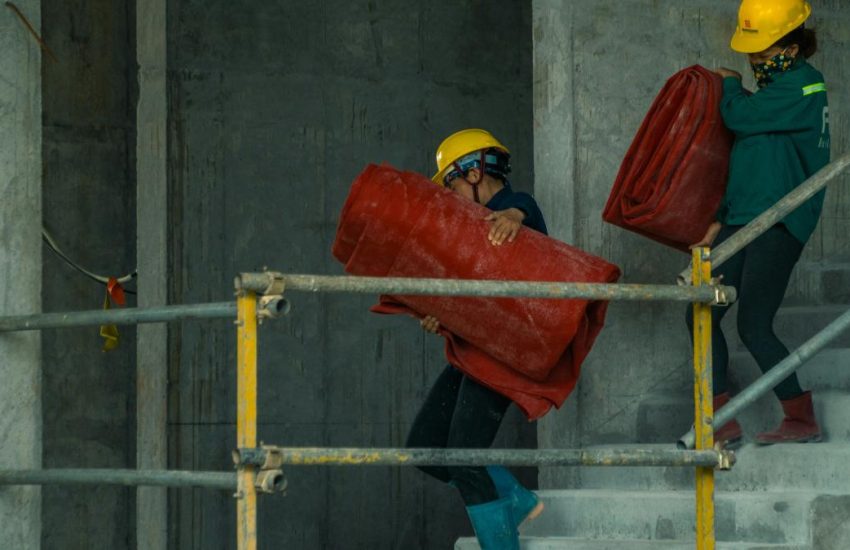
As the vibrant hues of autumn paint the landscape, construction sites across the country gear up for a new season. With crisp air and changing
Continue reading