
 Posted by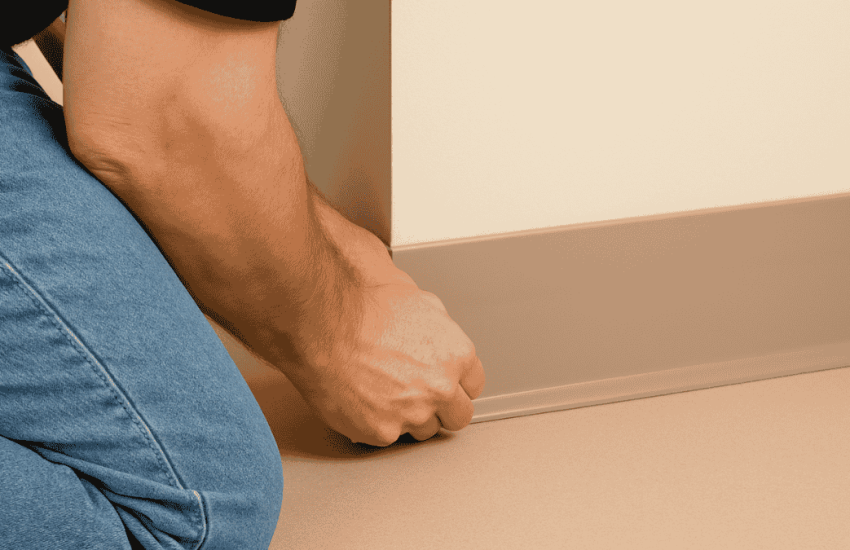
Installing base looks like a small job. Done right, it makes the room. The base guards the wall from carts, furniture, and feet. It also covers the wall-to-floor joint. Most trouble comes from a rushed step. So here are ten to watch. And here is how to nail each one. Explore rubber base molding as you plan. Get the material and profile right first with the guide to matching base to your flooring type.
Key Takeaways
- Match the base material to the space, vinyl or rubber.
- Clean and prep the wall first.
- Use the adhesive the maker specifies.
- Work at a steady pace for a clean result.
Mistake 1: Choosing the Wrong Wall Base Material
The base has to suit the space. Vinyl is soft, flexible, and budget-friendly. It fits residential and light commercial use. Rubber is more durable. It suits schools and hospitals. Roppe carries both. It stands out for color and texture.
Do this: Match the material to the space. Rubber suits schools and hospitals. Vinyl suits offices and homes. Compare Roppe vinyl base and Roppe rubber base. Or read how vinyl and rubber compare.
Mistake 2: Ignoring Surface Preparation
A clean wall holds the base. Dust, cracks, and damp all weaken the bond.
Do this: Clear dust, oil, and old adhesive. Patch holes and rough spots. Let the wall dry fully. Then the adhesive bonds and lasts.
Mistake 3: Not Checking for Moisture
Moisture in the wall or floor can loosen the base. Bathrooms, basements, and kitchens are the usual spots.
Do this: Check for damp and water damage first. Fix the source. Seal the wall, repair a leak, or run a dehumidifier. Use a waterproof adhesive in wet areas.
Mistake 4: Skipping Acclimatization
Base adjusts to the room, much like flooring. Temperature and humidity can shift it before install.
Do this: Store the base in the room for 24 to 48 hours. Lay it flat. Hold the room between 65 and 85 degrees. Keep it out of a car or garage.
Mistake 5: Using the Incorrect Adhesive
Each material calls for its own adhesive. The right glue holds tight.
Do this: Follow the maker’s adhesive spec. Vinyl often uses acrylic or rubber-based glue. Rubber may need a urethane glue. For peel-and-stick, keep the surface clean and dry. Koffler stocks the right wall base adhesive.
Mistake 6: Overlooking Manufacturer Instructions
Every product has its own rules. Following them protects the warranty.
Do this: Read the instructions. Follow the temperature range and glue directions. Use any recommended tool. Ten minutes of reading saves hours of rework.
Mistake 7: Inaccurate Measurements and Cuts
Accurate cuts save material. Corners and doorways show every error.
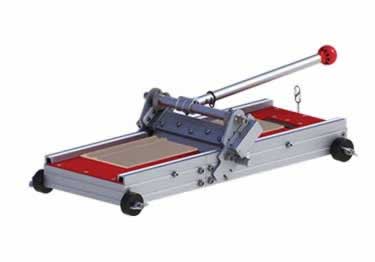
Do this: Use a quality tape. Check twice. Mark cut lines clearly. Use a sharp knife and a straight edge. Practice on scrap. Pre-cut pieces before you glue. A base cutter gives clean ends.
Mistake 8: Failing to Account for Corners and Transitions
Corners and floor transitions need a plan. A little prep keeps the base lined up.
Do this: Use pre-shaped corners where you can. Cut inside and outside corners at 45 degrees. Plan for where flooring types meet.
Mistake 9: Rushing the Installation
Base work rewards a steady pace. Careful timing gives a clean line.
Do this: Let the adhesive turn tacky first. Work in small sections. Press firmly along the length. That builds a strong bond.
Mistake 10: Neglecting the Final Inspection
A final walk catches the small stuff. Fix it early and it stays fixed.
Do this: Check for loose edges, bubbles, or excess glue. Press down or reapply where needed. Wipe off the excess. The right installation tools make this easy.
Common Post-Installation Issues and Fixes
Peeling or detaching: Often the wrong adhesive or thin prep. Remove the section. Clean the wall. Reinstall with the correct adhesive.
Gaps at corners: Often a cut or shrinkage. Fill small gaps with color-matched caulk. Or re-cut and replace the section.
Bubbling or warping: Often poor acclimation or thick glue. Reinstall with even technique. Spread the adhesive thin and flat.
Shop This Guide
Ready to buy? These products fit the guidance above.
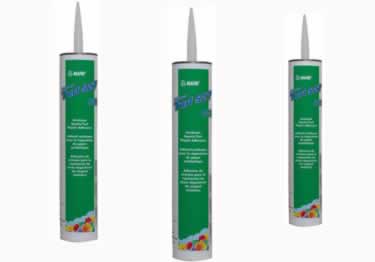
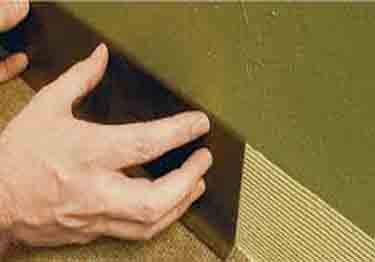
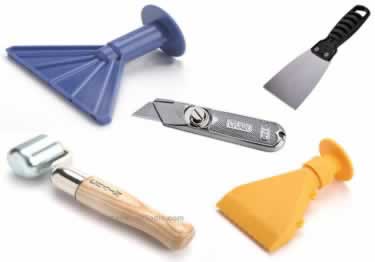
Frequently Asked Questions
Can I install wall base over painted surfaces?
Yes, with clean, dry paint. Clear flaking paint and dust first. Light sanding boosts adhesion.
How do I remove bubbles after installation?
Press the bubble flat while the glue is tacky. If it dried, lift the section. Apply fresh glue and press again.
What tools are essential for DIY wall base installation?
A utility knife, tape, and straight edge. A notched trowel and caulk gun. A base cutter and cleaning supplies.
What temperature should the room be for installation?
Hold the room between 65 and 85 degrees. Let the base acclimate 24 to 48 hours first.
Can I install new wall base over old base?
Remove the old base first. Scrape off old adhesive. A clean wall gives a flat, lasting bond.
Which adhesive works for rubber versus vinyl base?
Vinyl often uses acrylic or rubber-based glue. Rubber may need a urethane product. Always follow the maker’s spec.
How do I get clean corners?
Use pre-shaped corners where you can. Or cut inside and outside corners at 45 degrees. Dry-fit before gluing.