
 Posted by
To install a transition strip, match the strip to its install method: snap-in track, glue-down or nail-down. Then confirm the profile meets ADA limits for the height change, and sequence it correctly with the flooring. Two common failures are the wrong profile for the height change and traffic on the strip before its adhesive cures.
This guide covers how to install a transition strip by each method, plus floating floors, the ADA rules for accessible routes, wheeled-traffic areas, concrete prep and troubleshooting.
Which Transition Strip Installation Method Is Yours?
| Strip type | Joins | How it installs | Section |
|---|---|---|---|
| Snap-in T-molding (vinyl) | Carpet to carpet, ceramic, tile or resilient flooring | A base track is glued or fastened to the floor; the molding snaps in | Snap-In Track |
| Rubber reducer, threshold or transition | A thinner floor to a thicker one, or a doorway | Glued to the subfloor with epoxy | Glue-Down Rubber |
| Vinyl reducer, threshold or transition | A thinner floor to a thicker one, or a doorway | Glued to the subfloor | Glue-Down Vinyl |
| Metal seam binder or bevel bar | Hard and resilient floor seams (seam binders); carpet to other flooring (bevel bars) | Nailed through pre-drilled holes | Nail-Down Metal |
| Carpet edging or carpet reducer | The edge of carpet where it meets another floor | Set first, with the carpet finished to it | Carpet Edging |
| Any strip at LVP or laminate | A floating floor to another floor | Fastened to the subfloor only, in the expansion gap | Floating Floors |
ADA Limits for Transition Strips and Changes in Level
On accessible routes, the U.S. Access Board’s guide to the 2010 ADA Standards sets these limits, and they apply to thresholds and carpet trim:
| Height change | Requirement |
|---|---|
| Up to 1/4 inch | Allowed vertical, with no edge treatment |
| 1/4 to 1/2 inch | Must be beveled, no steeper than 1:2 |
| Over 1/2 inch | Must be treated as a ramp or curb ramp |
Pick the profile from the measured height difference, not the nominal flooring thicknesses. Koffler lists Roppe rubber reducers, Roppe wheeled traffic transitions and its extra thick floor transitions as ADA compliant. Johnsonite states its track bases and companion snap-in moldings meet ADA requirements for changes in level.
Transition Strips for Wheeled-Traffic Areas
Hospitals, schools, offices and retail floors carry carts, wheelchairs and equipment. Roppe’s wheeled traffic transitions come in three profiles for carpet or carpet tile to 1/8 inch tile or 0.080 inch sheet flooring, in 9 ft pieces. Johnsonite makes wheeled traffic transition adaptors in 12 ft strips.
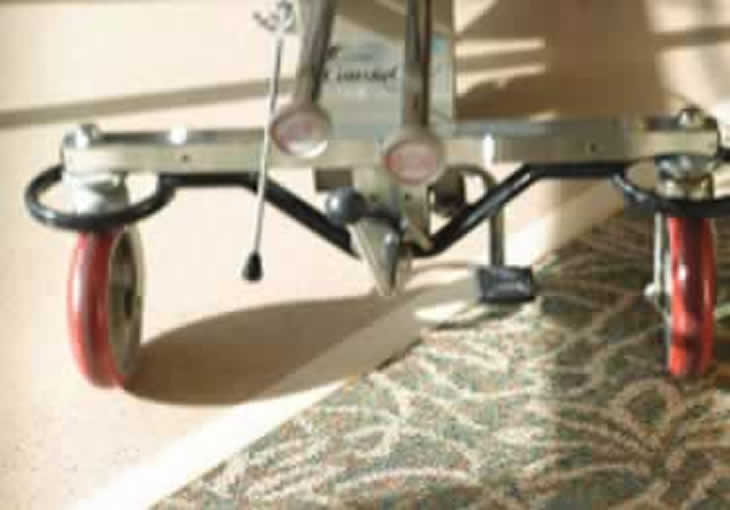
Roppe wheeled traffic transitions step carpet down to tile or sheet flooring for carts and wheelchairs.
Transition Strip Installation Tools and Materials
- Tape measure and pencil
- Utility knife and straightedge (vinyl and rubber strips)
- Hacksaw or miter saw with a metal-cutting blade (metal track and metal strips)
- Hammer (nail-down strips), or a drill, masonry bit and anchors on concrete
- Hand roller (glue-down strips)
- The adhesive the strip’s manufacturer specifies
- Denatured alcohol and a clean white cloth (rubber strips)
- Blue painter’s tape
When to Install a Transition Strip: Sequencing and Site Conditions
- Wait for the other trades. Johnsonite says installation shouldn’t begin until other trades are finished, especially overhead work.
- Condition the space. Johnsonite asks for 65°F or warmer for 24 hours before, during and after installation, for the room, moldings and adhesive. Roppe’s vinyl accessories sheet asks for 65°F to 85°F for 48 hours before, during and after.
- Prep the subfloor. It should be smooth, flat, dry and free of dust, paint, grease, wax and old adhesive.
- Plan the order of work. Snap-in track goes down before the flooring on either side. Roppe’s rubber and vinyl transitions, and any accessory with a flange or undercut, also go down before the adjoining flooring: snap a line where the floors will meet and set the strip to it. Nail-down metal seam binders and bevel bars go in after both floors are down.
- Measure and dry-fit. In a doorway, measure jamb to jamb and center the strip under the closed door. Dry-fit before fastening.
Snap-In Track Transition Strips (T-Molding)
Johnsonite vinyl T-molding uses a base track fixed to the floor and a vinyl molding that snaps into it. Johnsonite’s single-flange vinyl and aluminum tracks are for glue-down carpet, and a separate aluminum track is for stretch-in carpet. Contour tracks bend to a radius as tight as 6 feet.
- Cut the track to length. Use a hacksaw for aluminum and a utility knife for vinyl.
- Fix the track to the floor. Johnsonite allows adhesive or mechanical fasteners. For adhesive, it specifies its #945 contact bond adhesive, applied by brush or roller.
- Roll the track with a J-roller if glued.
- Install the flooring up to the track on each side.
- Snap the molding in and press it down until it locks.
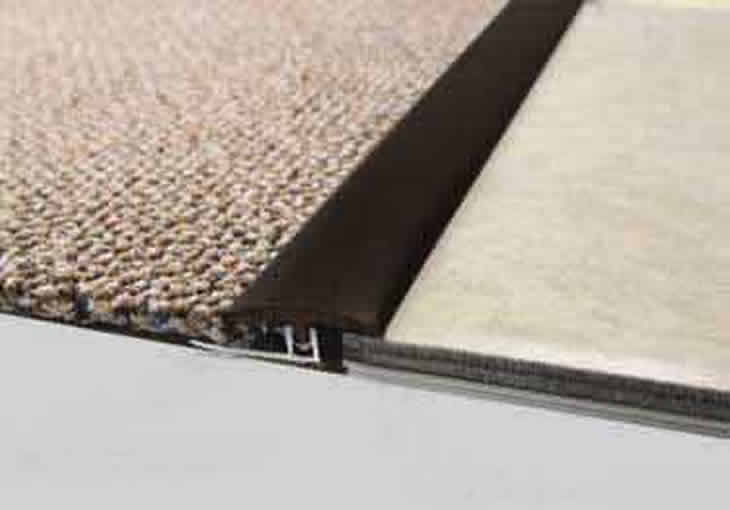
Johnsonite T-molding snaps into a base track fixed to the subfloor.
Koffler’s product page includes a Johnsonite T-molding installation video.
Transition Strips for Floating Floors: LVP and Laminate
Floating vinyl plank and laminate move with temperature, so the transition strip can’t pin them down. Fasten the track or strip to the subfloor inside the expansion gap, leave the gap the flooring manufacturer specifies at the edge of each floor, and let the molding cover it. Never drive a fastener through the floating floor itself; it locks the floor in place and causes buckling at the strip. For LVT and LVP options, see Koffler’s luxury vinyl tile category.
Glue-Down Rubber Transition Strips, Reducers and Thresholds
These steps follow Roppe’s installation sheet for its rubber accessories.
- Dry-lay the strip.
- Clean the back with denatured alcohol and a clean white cloth, and let it dry.
- Apply adhesive. Roppe specifies its ROP535U two-part urethane epoxy with a 1/32 x 1/16 x 1/32 inch U-notch trowel, or its ROPECC epoxy caulking compound in a tight 1/2 inch serpentine bead.
- Set the strip within 15 minutes.
- Roll in one direction only, toward the last piece installed. Don’t stretch the rubber; it shrinks back and leaves gaps.
- Re-roll within 30 minutes, and lift an edge to confirm at least 90% adhesive coverage.
- Tape it in place with 3M Blue Tape until the adhesive cures.
- Keep traffic and cleaning off for 72 hours.
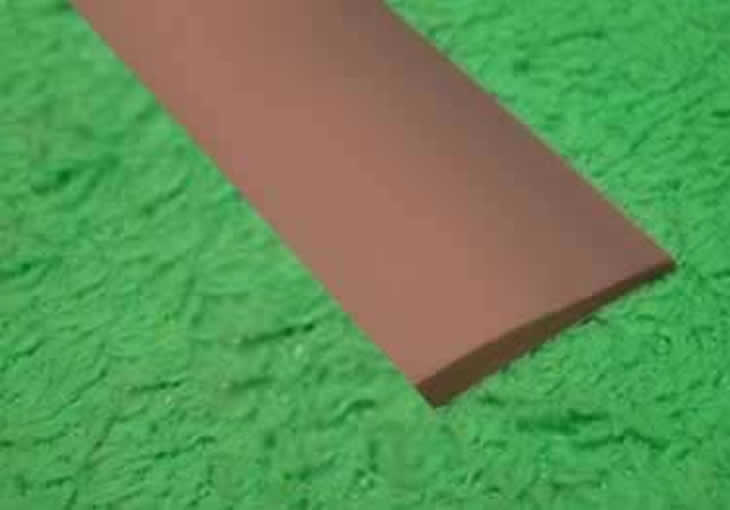
Roppe rubber reducers glue down with Roppe’s epoxy and hold traffic after 72 hours.
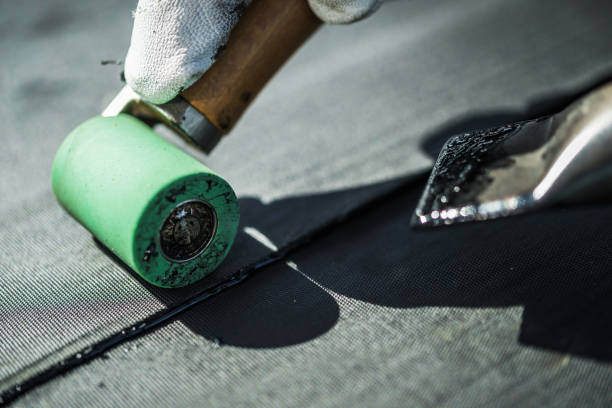
Glue-Down Vinyl Transition Strips, Reducers and Thresholds
Roppe’s vinyl accessories sheet, dated 2017, covers Roppe vinyl reducers and other vinyl trims and transitions.
- Choose the adhesive. Roppe approves EN-610 epoxy or C-630 contact adhesive. C-630 is required over non-porous substrates and for curved runs. An approved hard-setting adhesive also works next to adjoining flooring; pressure-sensitive adhesive doesn’t.
- Apply it to the back of the strip for at least 90% coverage.
- Set the strip within the adhesive’s open time.
- Roll within 30 minutes, toward the last piece installed.
- Keep traffic off until the adhesive has cured for light foot traffic, per its label.
For Johnsonite or other brands, follow that manufacturer’s adhesive and cure times.
Nail-Down Metal Transition Strips: Seam Binders and Bevel Bars
Koffler’s metal seam binders and metal bevel bars are aluminum, sold in 6 ft rough-cut lengths, pre-drilled with nails included. Seam binders bridge hard and resilient floor seams. Bevel bars step carpet down to another floor; the residential profiles cover height differences up to 5/16 or 3/8 inch, and a commercial profile is made for high-traffic areas.
- Cut to length with a hacksaw or a miter saw with a metal-cutting blade.
- Center the strip over the seam.
- Nail through the pre-drilled holes into a wood subfloor, working from one end.
On concrete, drill with a masonry bit, set anchors and fasten with screws, or bond the strip with construction adhesive.
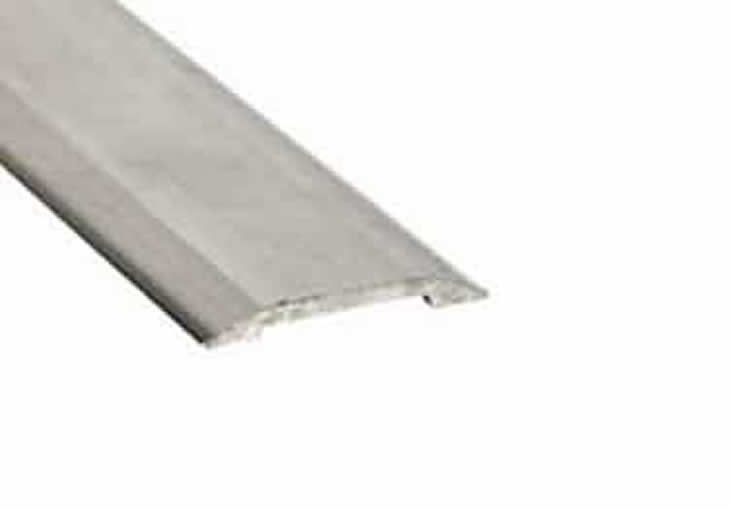
Metal seam binders come pre-drilled in 6 ft lengths, with nails included.
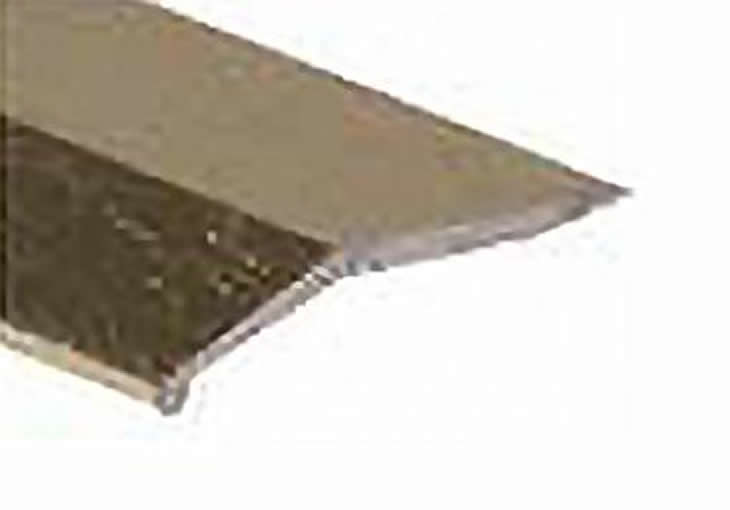
Metal bevel bars step carpet down to a thinner floor.
Carpet Edging and Carpet Reducer Transition Strips
Roppe vinyl carpet edging finishes the edge of carpet, vinyl or rubber tile. Johnsonite carpet reducers install under the carpet edge. Install carpet edging before or during carpet installation; Roppe’s vinyl accessories sheet calls for edging with a flange or undercut to go down before the carpet. Glue it, roll it, then install the carpet over its lip.
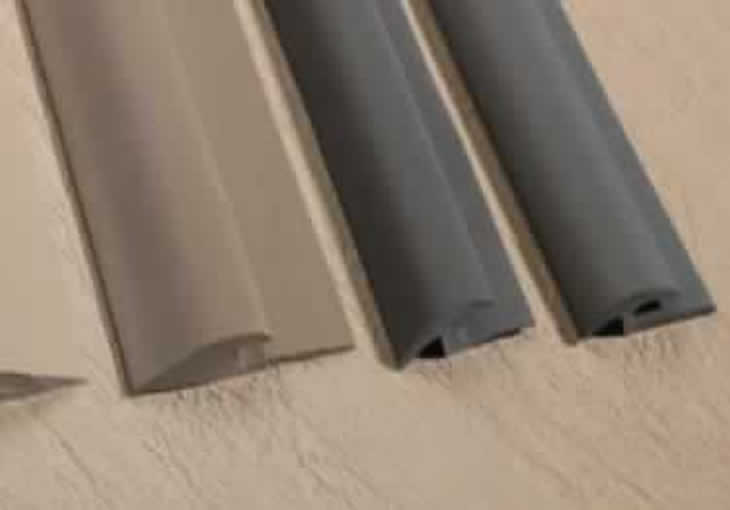
Roppe vinyl carpet edging goes down before the carpet.
How to Install a Transition Strip on Concrete
- Mechanical fastening: drill with a masonry bit and set anchors before driving screws.
- Roppe epoxy on concrete: Roppe requires a moisture test at least one week before installation (ASTM F1869 or F2170). Vapor emission must not exceed 5.0 lbs per 1,000 sq ft per 24 hours (F1869), or relative humidity 75% (F2170). Surface pH must be between 5 and 8.
- Burnished concrete: adhesive won’t grip it. Roppe calls for shot blasting or scarifying first.
Transition Strip Troubleshooting
| Problem | Likely cause | Fix |
|---|---|---|
| Strip lifts or comes loose | Contaminated subfloor, too little adhesive, or traffic before cure | Pull, clean both surfaces, re-glue with full coverage and hold traffic for the full cure |
| Gaps at the ends of a rubber strip | Rubber stretched during rolling, then shrank | Reinstall, rolling one direction without pulling |
| Strip rocks underfoot | High spot or uneven subfloor | Level the subfloor under the strip |
| Trip lip at the edge | Profile doesn’t match the height change | Replace with a profile that meets the ADA limits above |
| Floating floor buckles at the strip | Strip fastened through the floating floor | Fasten only to the subfloor so the floor can move |
Transition Strip Installation FAQs
Do you glue down transition strips?
Rubber and vinyl reducers and thresholds are glued. Snap-in T-molding sits in a glued or fastened track. Koffler’s metal seam binders and bevel bars are nailed. At a floating floor, fasten to the subfloor only.
How do you hold down a transition strip?
With the method its manufacturer specifies: epoxy or contact adhesive for rubber and vinyl, a fixed track for snap-in molding, or nails and screws for metal. Tape glued strips in place until the adhesive cures.
Where should the transition strip be placed?
Where the two floors meet. In a doorway, center it under the closed door.
Do transitions go in before or after the flooring?
Snap-in track, Roppe’s rubber and vinyl transitions, and flanged or undercut accessories go in before the adjoining floor. Nail-down metal strips go in after.
What height change needs a beveled transition under the ADA?
Over 1/4 inch and up to 1/2 inch, beveled no steeper than 1:2. Anything over 1/2 inch must be treated as a ramp.
How long before a glued transition can take traffic?
Roppe specifies 72 hours for its rubber accessories set in epoxy. For other adhesives, follow the label.
Koffler’s transition strips, thresholds and edging category carries the Johnsonite, Roppe and metal profiles above, and our guide to transition strip types explains which profile fits each floor pair. To match profiles to a project’s flooring, call 1-888-355-6287.
Sources: U.S. Access Board guide to floor and ground surfaces