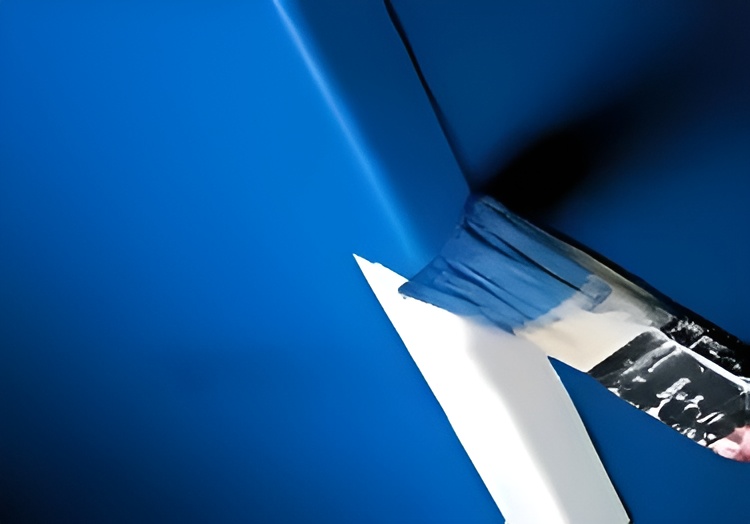
When it comes to protecting your walls, especially high-traffic corners, paintable vinyl corner guards offer a durable and customizable solution. Unlike standard clear or colored corner guards, these can be painted to match your existing walls for a seamless appearance. In this guide, we’ll walk you through the installation and painting process to ensure your corner guards not only protect but also blend effortlessly into your space.
Why Choose Paintable Corner Guards
Paintable plastic corner guards provide wall protection while allowing you to maintain your home or business’s aesthetic. They come pre-taped with a permanent rubber-based adhesive, making installation quick and hassle-free. Whether you’re safeguarding against furniture bumps, scuffs, or everyday wear, these corner guards add an extra layer of durability to your walls.
Installation Guide for Paintable Corner Guards
Prepare the Surface
Before installing, ensure the wall surface is clean, dry, and free from dust, grease, or debris. Use a suitable cleaning solvent, but test it first to ensure it won’t damage the paint or wall finish. A smooth, dirt-free surface helps the adhesive form a strong, long-lasting bond.
Cut to Size if Needed
If the corner guard is longer than necessary, cut it to the required length. Ensure all cuts are square and smooth, avoiding rough edges or burrs.
Apply the Corner Guard
Peel off the backing tape from one side entirely. Partially peel the backing from the second side. Press the fully exposed side against the corner. Once positioned correctly, remove the remaining backing and press firmly along the entire length to ensure proper adhesion.
Pro Tip Apply consistent pressure along the guard to eliminate air gaps and create a secure bond.
Painting Your Corner Guards After Installing Them
Once installed, painting your corner guards ensures they match your walls and maintain a cohesive look. Here’s how to do it properly.
Clean the Surface
After installation, wipe down the corner guard with soap and water to remove dust or dirt. Allow it to fully dry before painting. Painting over moisture can lead to uneven application and peeling.
Protect Surrounding Areas
Use painter’s tape to mask off nearby surfaces that you don’t want to be painted. This prevents accidental marks and ensures a clean, professional finish.
Choose the Right Paint
For the best results, use water-based paint with a high-gloss finish. The gloss helps prevent scuff marks and makes cleaning easier.
Apply the Paint
Using a stiff nylon brush, apply a smooth, even coat of paint to the corner guard. Let it dry completely before applying a second coat if needed.
Pro Tip A high-quality brush minimizes streaks and ensures a uniform finish.
Storage and Handling Tips
Store corner guards horizontally at room temperature, between 65 and 75 degrees Fahrenheit, to prevent warping. Keep them in a clean, dry area away from direct sunlight. Avoid placing heavy objects on top of them to maintain their shape.
Long-Lasting Wall Protection with a Perfect Finish
Paintable corner guards are an excellent way to protect vulnerable walls while maintaining your interior’s design. With proper installation and painting, they become virtually unnoticeable while offering long-term durability. Whether for residential or commercial spaces, these easy-to-install guards help keep your corners looking pristine with minimal maintenance.
Your Questions Answered: Can you paint corner guards before installing them?
Yes, you can paint corner guards before installing them to avoid overlapping paint on the wall. This allows for a clean, even finish and easier handling. If you choose to paint them first, make sure they are completely dry before installation to prevent smudging or damage.
